Wood makes an excellent choice for flooring as it's sustainable, hardwearing, easy to clean as well as having a unique and natural beauty. In this guide we'll show you how to care for your interior flooring whether you're stripping floorboards, restoring a parquet floor or whether you need to maintain a larger area of flooring such as a dance floor or sports hall we've got you covered.
Equipment
Before you start the following is a list of materials that you may need to successfully complete the project.
- Hammer and nail punch
- Dust sheets
- Electric sander
- Sandpaper (various grits)
- Wood glue or filler
- Vacuum cleaner
- Floor Varnish
- Synthetic brush or roller
Step 1: Clear the floor area
While it may sound obvious for the best results clear the entire floor area by removing all furniture and temporary floor coverings such as rugs and carpets.
If for any reason it's not possible to clear the entire area try to clear at least half the floor space by moving all furniture to one side of the room. It's a good idea to cover any remaining furtniture with dust sheets to protect them from any dust and debris
Step 2: Inspect the floor
Once the area has been cleared it's important to closely inspect the floor before sanding.
If the floor is in generally good condition you might be able to skip this step. This might be the case if the floor has been newly laid or if you're doing a maintenance coat on an existing top coat of varnish.
Using a nail punch hammer down any protruding nails so that they are at least flush with the wood surface. Ideally, all nails should be 2mm below the surface of the wood so as to eliminate any chance of them getting caught on the sander.
Any gaps or cracks in the floor should be filled. For large gaps use thin slivers of wood and stick them into the gaps using wood glue. For smaller gaps or cracks use a good quality flexible wood filler than won't shrink or crack.
Replace any rotten or broken boards and secure any loose boards with nails.
Step 3: Sanding the floor
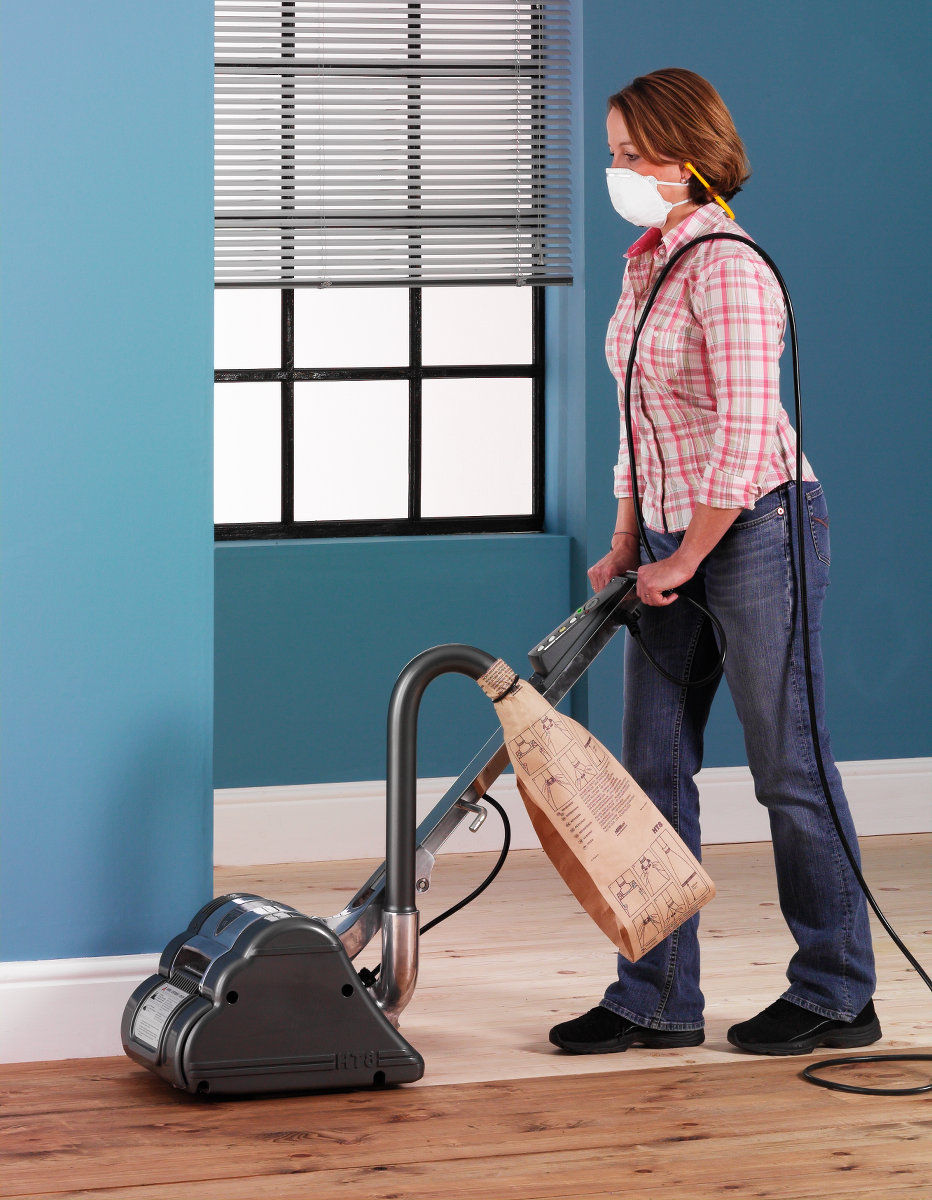
Once the bare floor has been inspected and prepared it's time to move onto the sanding. Unless the area is very small in it's not feasible to sand the floor by hand so an electric sander is the best option. Any type of sander can used but the type chosen will affect the time it takes to get the job finished.
For smaller areas a hand-held belt sander or a good quality random orbital sander is a good choice.
For larger areas the best option is to hire a specialist electric floor sander for the job which can easily be obtained from local hire shops for minimal cost. When using a specialist floor sander you will also need an edging sander to get right up to the skirting boards.

Sanding inevitably creates a lot of dust so a sander with a dust collection bag or one that can be connected to a vacuum cleaner or dust extractor is definitely recommended. Before you start start sanding close all cupboards and doors to prevent dust escaping or otherwise ending up in places you don't want it.
As a lot of dust will be created it's always advisable to wear a protective mask.
In most cases the floor will need to be sanded twice but exactly how much sanding is required will depend on the condition of the floor. A newly laid hardwood floor may only need a light sanding with a fine 120 grit sandpaper whereas old floorboards with years of dirt and grime may require several passes with coarser paper before moving onto finer grits.
Firstly sand the floor with a coarse grit (i.e. 40 grit) to remove the top layer of dirt and any varnish residue. It's important to sand with the grain of the wood along the full length of the boards. Always keep the sander moving as if you stop in one place for too long it will 'eat into' the wood resulting in an uneven area. Repeat this process until the floor is clean and clear or any dirt or old paint or varnish.
Secondly, sand the floor with a finer grit sandpaper (i.e. 60 - 100 grit). This second sanding will smooth out the floor so it's nice and flat ready for the varnish.
Once the sanding is complete allow the dust to settle before vacuuming the whole area so it's completely dust free.
Lastly, wipe the floor clean using a damp cloth or white spirit.
Step 4: Varnishing the floor
Varnishing a floor is different to varnishing other interior woodwork in as much that a special hardwearing varnish must be used. This is especially true in high traffic areas such as sports halls where a heavy duty varnish should be employed.
Using a synthetic roller or brush apply the varnish in the direction of the grain along the length of the floor parts. Start at one corner of the room and move towards the door so you don't paint yourself into a corner.
Leave the first coat to dry according to the instructions on the tin before applying the next coat.
For a really professional finish lightly sand in between coats with a light (i.e. 240 grit) sandpaper. Then mop the floor and wipe the floor down with a tac cloth and paint thinner.
For the most durable and hardwearning finish apply at least three coats of varnish.

